安装 安装nginx软件所需的依赖插件
1
2
3
4
yum install -y gcc-c++
下载nginx包
1 wget http://nginx.org/download/nginx-1.20.2.tar.gz
解压
1 2 3 4 5 6 7 8 9 10 ls cd nginx-1.20.2ls pwd
创建一个目录作为nginx的安装目录,设置nginx的安装路径为上面/usr/nginx
1
2
[root@master nginx-1.20.2]# mkdir /usr/nginx
然后可以看到我们的nginx目录下,多了一个Makefile文件
1
2
[root@master nginx-1.20.2]# ls
安装
1
2
进入到安装后的目录下
1
2
3
4
5
6
7
8
[root@master nginx-1.20.2]# cd /usr/nginx/ls
进入sbin目录下,执行一下命令启动
1 2 3 4 5 6 7 8 9 [root@master nginx ]master sbin ]master sbin ]stop 关闭nginx
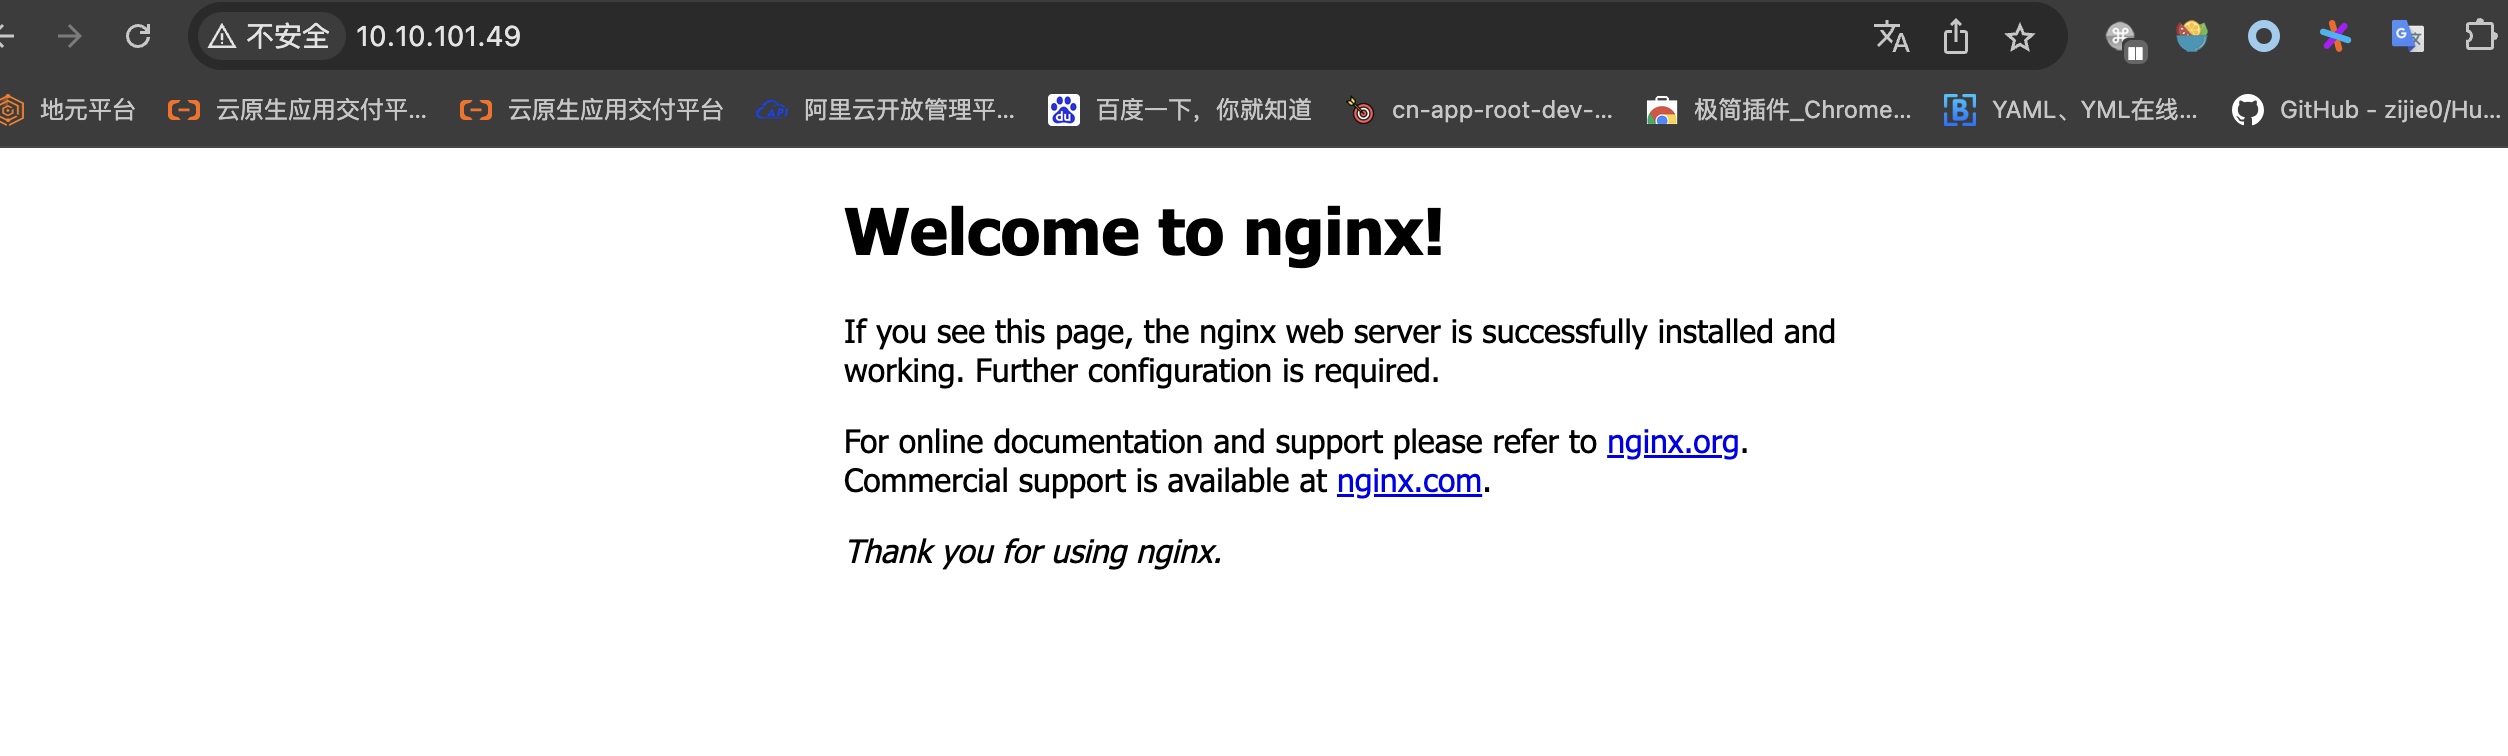
访问
如果访问不通,可能防火墙未关闭或者你的端口号未选择放行
1 2 3 4 5 6 7 8 9 10 11 12 设置防火墙允许放行哪些端口号--add-port= 你的端口号/tcp --zone=public --permanent --list-port ---- 慎重【关闭】 开启还会启动
Docker启动 1 2 3 $ docker run --name my-nginx -p 8080 :80 .conf :/etc/nginx/nginx.conf -d nginx
1 2 3 4 5 6 7 8 9 10 11 12 13 14 15 16 17 18 19 20 21 22 23 24 user nginx;worker_processes 1 ;error_log /var/log/nginx/error .log warn ;pid /var/run/nginx.pid;events {worker_connections 1024 ;http {server {listen 80 ;location / {proxy_pass http://192.168.159.181:30028;proxy_set_header Host $host ;proxy_set_header X-Real-IP $remote_addr ;proxy_set_header X-Forwarded-For $proxy_add_x_forwarded_for ;proxy_set_header X-Forwarded-Proto $scheme ;
$host、$remote_addr 和其他 proxy_set_header 指令用于将原始请求的相关信息传递给后端服务。
配置文件 1 2 cd /usr/nginx/conf conf 文件
查看文件
1 2 3 4 5 6 7 8 9 10 11 12 13 14 15 16 17 18 19 worker_processes 8 ;#Nginx 进程数,建议按照CPU数目来指定,一般为它的倍数 (如,2个四核的CPU计为8)。worker_rlimit_nofile 65535; #一个Nginx 进程打开的最多文件描述符数目 65535 ;#每个进程允许的最多连接数 server {#监听80端口,80端口是知名端口号,用于HTTP协议 80 ;#定义使用www.xx.com访问 #charset koi8-r; #access_log logs/host.access.log main; index index .html index .htm;
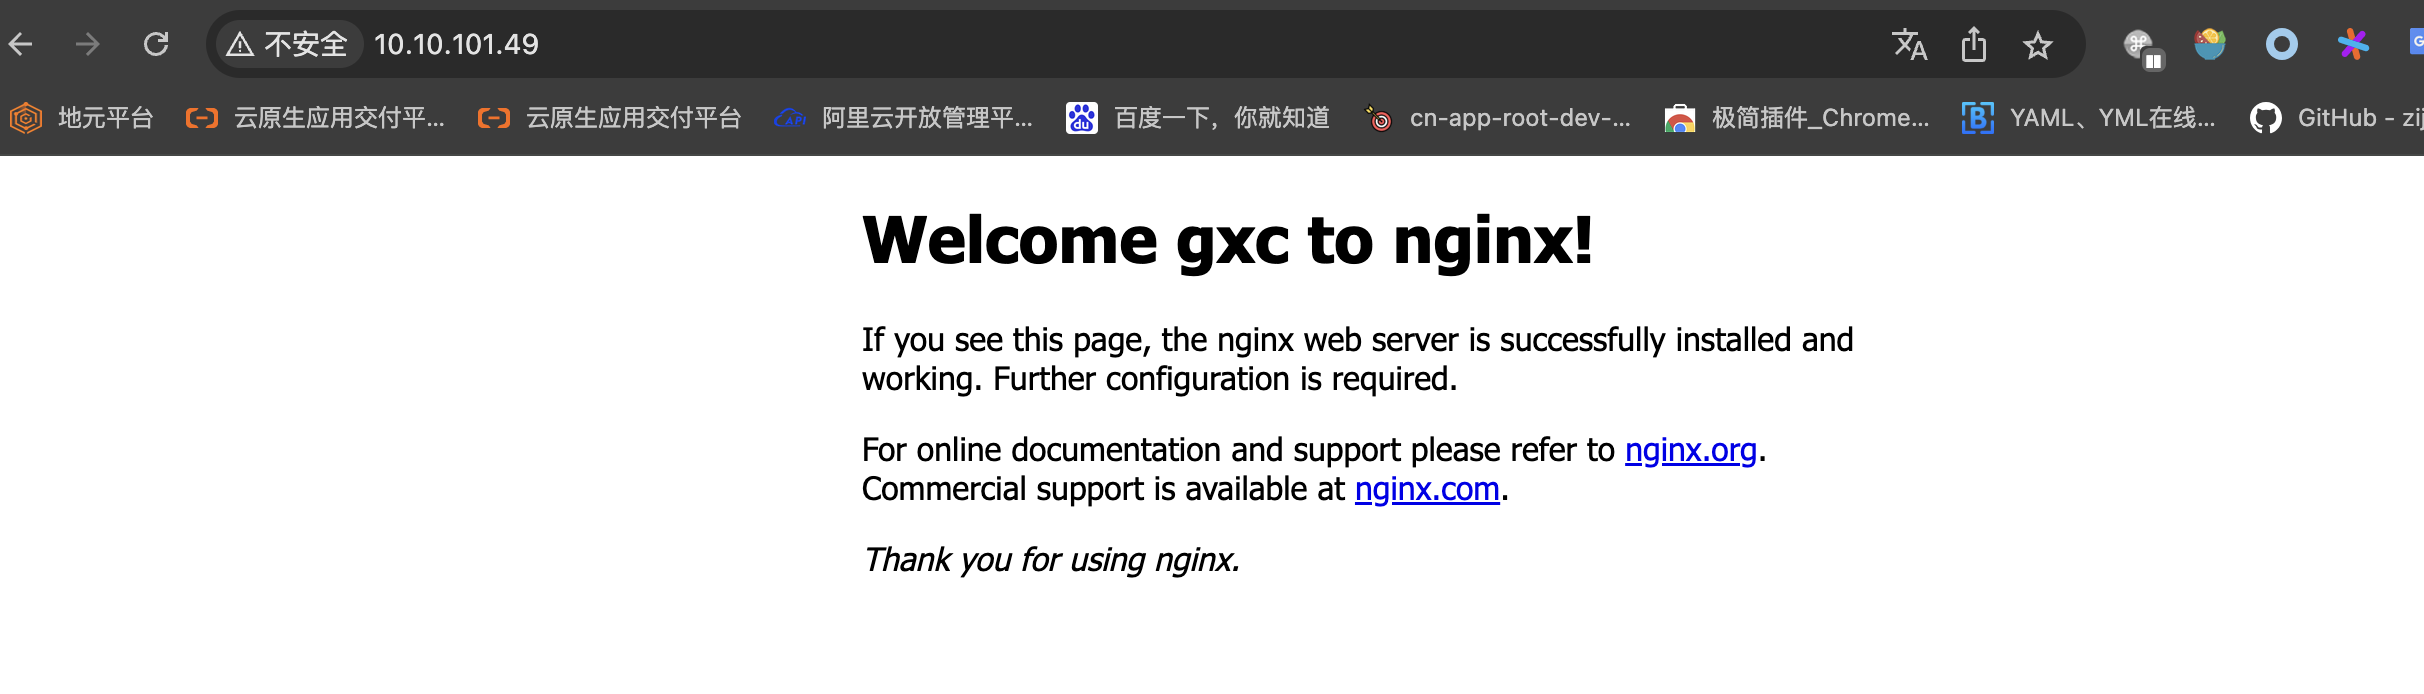
修改index 1 2 3 4 5 6 7 8 9 10 11 12 13 14 15 16 17 18 19 20 21 22 23 24 25 26 27 28 29 30 31 [root@master html]# pwd<!DOCTYPE html > <html > <head > <title > Welcome to nginx!</title > <style > body { width : 35em ; margin : 0 auto; font-family : Tahoma, Verdana, Arial, sans-serif; } </style > </head > <body > <h1 > Welcome gxc to nginx!</h1 > //修改添加gxc<p > If you see this page, the nginx web server is successfully installed and</p > <p > For online documentation and support please refer to<a href ="http://nginx.org/" > nginx.org</a > .<br /> <a href ="http://nginx.com/" > nginx.com</a > .</p > <p > <em > Thank you for using nginx.</em > </p > </body > </html >
重新加载
访问,发现index页面已修改
访问我的页面 修改config
1 2 3 4 5 6 7 8 9 10 11 12 13 server {listen 80 ;server_name localhost;location / {root gxc;index gxc.html;
创建页面
1 2 3 4 [root@master nginx ]master nginx ]master nginx ]
访问
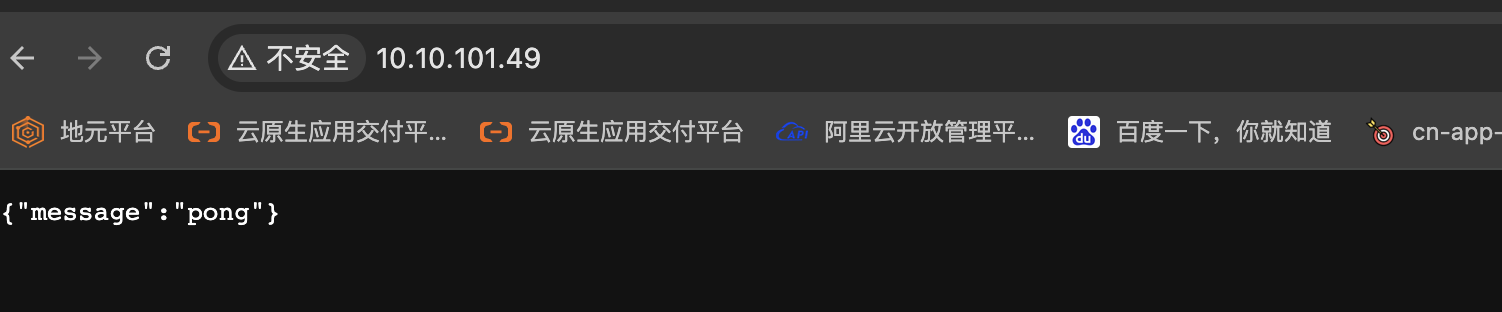
反向代理 正向代理是代理客户端,反向代理是代理服务器。
1 2 3 4 5 6 7 8 9 10 11 12 server {listen 80 ;server_name localhost;location / {proxy_pass http://10.10.101.49:8080/ping;
访问的程序
1 2 3 4 5 6 7 8 9 func main () {r := gin.Default ()GET ("/ping" , func (c *gin.Context) {.JSON (200 , gin.H {"pong" ,r .Run () // listen and serve on 0.0 .0.0 :8080
访问
负载均衡 10.10.101.49机器上运行程序
1 2 3 4 5 6 7 8 9 10 func main () {r := gin.Default ()GET ("/ping" , func (c *gin.Context) {.JSON (200 , gin.H {"p1" ,r .Run () // listen and serve on 0.0 .0.0 :8080
10.10.101.50机器上运行程序
1 2 3 4 5 6 7 8 9 10 func main () {r := gin.Default ()GET ("/ping" , func (c *gin.Context) {.JSON (200 , gin.H {"p2" ,r .Run () // listen and serve on 0.0 .0.0 :8080
轮询 修改配置文件
1 2 3 4 5 6 7 8 9 10 11 12 13 14 15 16 upstream test1 {server 10.10.101.49:8080 ;server 10.10.101.50:8080 ;server {listen 80 ;server_name localhost;location / {proxy_pass http://test1/ping;
访问,发现轮训
1 2 3 4 5 6 7 8 guxc@guxuchengdeMacBook- Pro ~ % curl http :"message" : "p2" }%- Pro ~ % curl http :"message" : "p1" }%- Pro ~ % curl http :"message" : "p2" }%- Pro ~ % curl http :"message" : "p1" }%
权重 修改配置文件
1 2 3 4 5 6 7 8 9 10 11 12 13 14 15 16 upstream test1 {server 10.10.101.49:8080 weight=1 ;server 10.10.101.50:8080 weight=2 ;server {listen 80 ;server_name localhost;location / {proxy_pass http://test1/ping;
访问
1 2 3 4 5 6 7 8 9 10 guxc@guxuchengdeMacBook- Pro ~ % curl http :"message" : "p2" }%- Pro ~ % curl http :"message" : "p1" }%- Pro ~ % curl http :"message" : "p2" }%- Pro ~ % curl http :"message" : "p2" }%- Pro ~ % curl http :"message" : "p1" }%
ip_hash 每个请求按访问ip的hash结果分配,这样每个访客固定访问一个后端服务器,可以解决session的问题。
1 2 3 4 5 upstream test1 {server 10.10.101.49:8080 ;server 10.10.101.50:8080 ;ip_hash
动静分离 原来静态文件,动态文件都存放在tomcat,用户发送一个请求,请求静态资源,需要再渲染,多次请求tomcat,增加压力
将springboot项目中的static文件提取出来,将不带static文件的项目打包成jar,放到linux中(一般都放在 /project中),然后将static文件放到nginx的根目录下(/usr/nginx/)。然后修改我们的配置文件:
1 2 3 4 5 6 7 8 9 10 11 12 13 14 15 16 server {listen 80 ;server_name localhost;location / {proxy_pass http://test1/ping;location ~ \.jpg|.png|.css|.js$ {root static
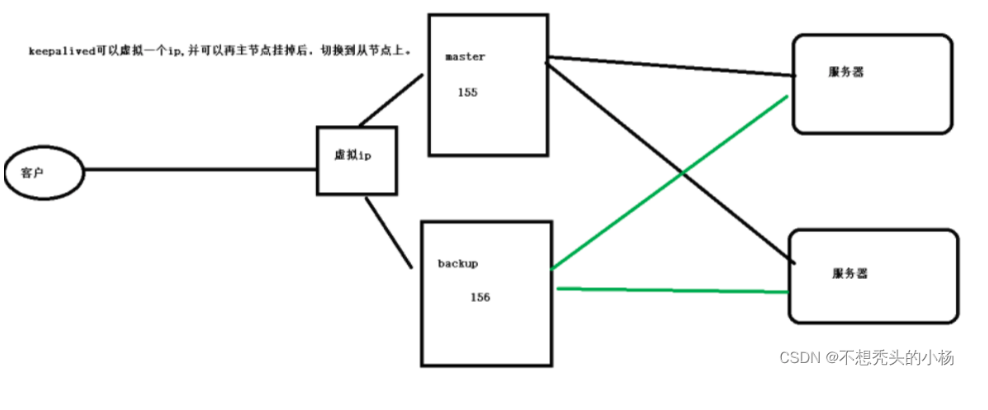
高可用
我们的Nginx虽然承受并发的能力非常强,但不排除由意外情况导致我们的nginx会宕机。为了尽可能使我们的项目正常运行,这时我们可以启用备胎计划,也就是再搞一台服务器当做代理服务器,这两台代理服务器之间有一个主从关系。平常我们的备胎代理服务器不会使用,当标记为MASTER的主代理服务器宕机了,我们的被标记为BACKUP的从代理服务器就可以成功上位,充当MASTER的位置实现代理功能,当MASTER的代理服务器正常运行以后,BACKYUP就退居二线,不再使用。
代理文件目录 修改nginx.conf
1 2 3 4 5 6 7 8 9 10 11 12 13 14 15 16 17 18 19 http {include mime.types;default_type application/octet-stream;sendfile on ;keepalive_timeout 65 ;server {listen 80 ;server_name localhost;access_log logs/access.log;location /gxc_dir/ {alias /var/www/;
然后执行
1 sudo /usr/ local/nginx/ sbin/nginx -s reload
在/var/www目录下放置文件
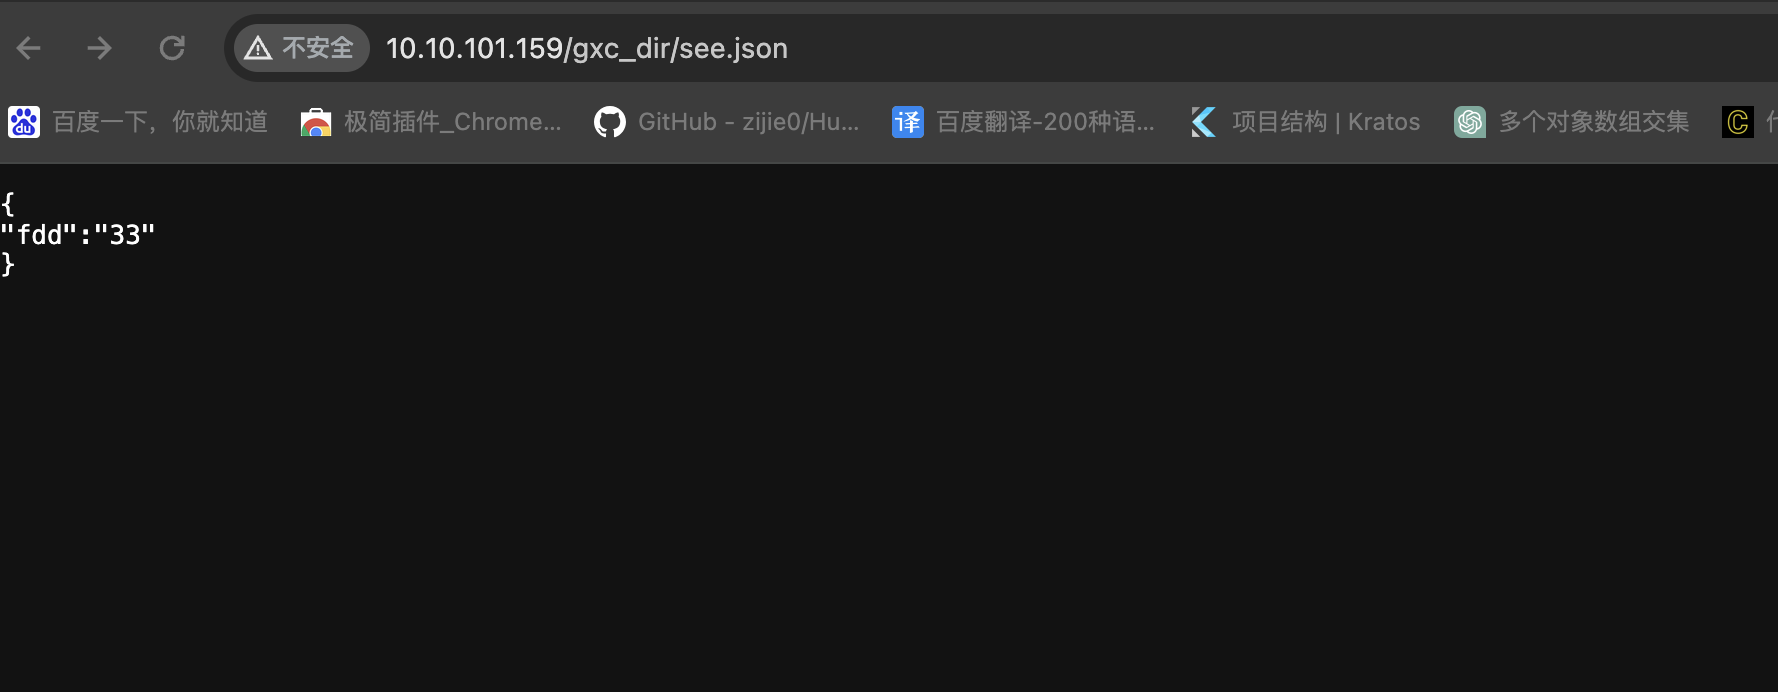
1 2 3 4 5 6 7 8 [root@edgestack-master www ]master www ]master www ]"fdd" :"33"
浏览器访问http://10.10.101.159/gxc_dir/see.json
扩展
1 2 3 4 5 6 7 8 9 10 location /mylog {autoindex on ;charset utf-8 ; autoindex_exact_size off ; autoindex_localtime off ; auth_basic "Auth access Blog Input your Passwd!" ; auth_basic_user_file /usr/local/mdtassistant/nginx/users;alias /usr/local/mdtassistant/version;
不同网段服务代理 集群部署在159网段,办公网是145网段,想要在145网段访问159上的服务,使用nginx代理
1 docker run --name my-nginx -p 8088 :80 -v /home/nginx.conf :/etc/nginx/nginx.conf -d nginx�
访问图片http://192.168.145.101:8088/picture/demo/kxt134_rtsp_person_True_2024-03-18](http://192.168.145.101:8088/picture/demo/kxt134_rtsp_person_True_2024-03-18%2007%3A58%3A19_otb5Q.png?X-Amz-Algorithm=AWS4-HMAC-SHA256&X-Amz-Credential=admin%2F20240321%2Fus-east-1%2Fs3%2Faws4_request&X-Amz-Date=20240321T145153Z&X-Amz-Expires=604800&X-Amz-SignedHeaders=host&X-Amz-Signature=7b9ed4e18899bd49904770cda50371ad059465605b259e163880b5b78a6e70a7�)
1 2 3 4 5 6 7 8 9 10 11 12 13 14 15 16 17 18 19 20 21 22 23 24 25 26 27 28 29 30 31 32 33 34 35 36 user nginx;worker_processes 1 ;error_log /var/log/nginx/error .log warn ;pid /var/run/nginx.pid;events {worker_connections 1024 ;http {server {listen 80 ;location /picture/ {proxy_pass http://192.168.159.181:30010/;client_max_body_size 1024m ;proxy_http_version 1 .1 ;proxy_set_header Host 192.168.159.181:30010 ; proxy_set_header X-Real-IP $remote_addr ;proxy_set_header X-Real-PORT $remote_port ;proxy_set_header X-Forwarded-Proto $scheme ;proxy_set_header X-Forwarded-Host $http_host ;proxy_set_header X-Forwarded-For $proxy_add_x_forwarded_for ;location / {proxy_pass http://192.168.159.181:30028;proxy_set_header Host $host ;proxy_set_header X-Real-IP $remote_addr ;proxy_set_header X-Forwarded-For $proxy_add_x_forwarded_for ;proxy_set_header X-Forwarded-Proto $scheme ;
许多文档写了 proxy_set_header Host $http_host;
细节 路径加 / 如何区分
1、proxy_pass末尾有斜杠
1 2 3 location /api / {127.0 .0.1 :8000 /;
请求地址:http://localhost/api/test http://127.0.0.1:8000/test
2、proxy_pass末尾无斜杠
1
2
3
location /api / {127.0 .0.1 :8000 ;
请求地址:http://localhost/api/test http://127.0.0.1:8000/api/test
3、proxy_pass包含路径,且末尾有斜杠
1
2
3
location /api/ {// 127.0 .0.1 :8000 /user/ ;
请求地址:http://localhost/api/test http://127.0.0.1:8000/user/test
4、proxy_pass包含路径,末尾无斜杠
1
2
3
location /api / {127.0 .0.1 :8000 /user;
请求地址:http://localhost/api/test http://127.0.0.1:8000/usertest
四、文件路径 alias与root区别